
How to wax your own skis!
If you want to enjoy your skis for a long time, you should maintain them regularly. An important point here is to wax your skis. The skis will only perform well on the trails if the base is in good condition. Many people have their skis serviced by professionals, but you can also wax your skis yourself. It’s easier than you might think. We’ll explain the options available and how they work. Let’s go!
Hot or cold wax: what’s the difference?
There are basically two options for ski waxing: cold wax and hot wax. The first difference is obvious. Cold wax is applied cold and hot wax must be heated. Therefore, treatment with hot wax requires more effort and the necessary equipment, whereas cold wax is quick and easy to apply.
Hot wax is more time-consuming, but it lasts longer.
However, the quality of the result is ultimately different. Cold wax is less resistant to abrasion and therefore needs to be renewed more frequently. On the other hand, hot wax penetrates deeper into the pores of the surface through heat, thus keeping the surface smooth for longer.
There are also waxes specifically designed for certain snow conditions. However, ordinary general-purpose waxes are usually sufficient.
Which method is right for you?
For skiers who only occasionally spend a day or two on the slopes, a cold wax treatment may be sufficient. You don’t need any additional equipment, just apply the wax before your ski day.
However, if you ski more frequently and for longer periods of time, it’s worth making the effort to use hot wax. The wax layer stays smooth for longer and doesn’t need to be constantly renewed.
Preparation
First, secure the ski with the bottom side up and tighten the retainer brake with a rubber band so as not to interfere with waxing. Remove any coarse dirt from the base with a cloth.
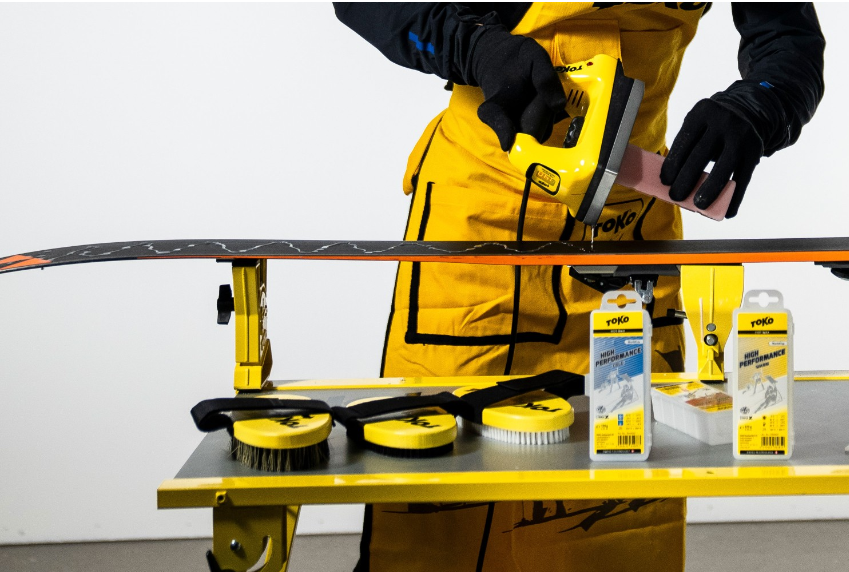
Waxing
When waxing, always work from the tip of the ski toward the tail of the ski. Then set the wax iron to the correct temperature. This temperature is approximately 130°C, but is usually specified by the wax manufacturer on the packaging.
Once the iron is ready for use, heat the wax on it and allow it to drip down the entire length of the ski. The wax is then ironed onto the base. When performing this operation, make sure you don’t stay in one spot for too long (as you would when ironing a shirt), but keep moving. Once the wax is evenly distributed throughout the ski, allow the ski to cool for approximately 15 to 30 minutes.
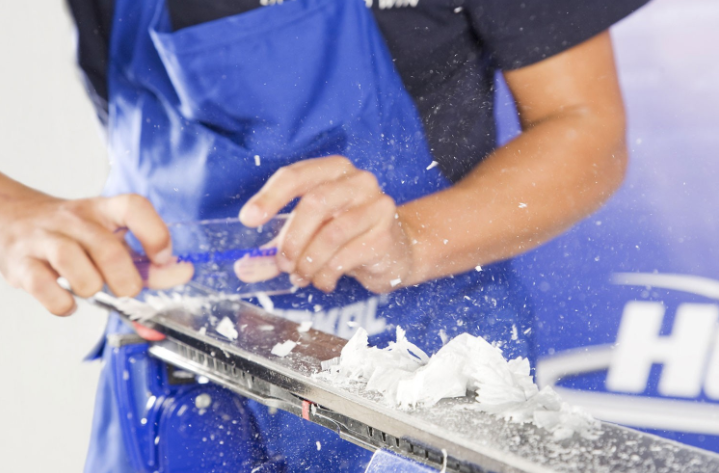
Finish
Once the ski has cooled completely, use a plastic scraper to remove the excess wax. To do this, pull the blade back from the tip of the ski several times with pressure. These blades usually have small grooves in the corners. These are meant to remove wax residue from the edges. Finally, once again, gently brush the ski from front to back with a nylon brush and wipe off any remaining dirt with a microfiber cloth. That’s it!

